2019年12月22日星期日

Read BMW EDC17C50 ISN Code from DDE using Autel IM608 & G Box

Managed to read 2017 BMW F-series DDE8 edc17c50 isn code in boot mode using Autel MaxiIM IM608 & g box.
Note: Autel G box is used to program Mercedes all keys lost and read BMW ISN code with IM608/IM508.
Procedure:
autel-im608-g-box-edc17-1
Remove the engine ECU module from the vehicle and open the engine ECU housing
In IM608, select IMMO->European->BMW->System Selection->Engine->Direct->Boot->F-Chassis->Bosch->TC1797 EDC17C50
autel-im608-g-box-edc17-2
autel-im608-g-box-edc17-3
autel-im608-g-box-edc17-4
autel-im608-g-box-edc17-5
autel-im608-g-box-edc17-6
autel-im608-g-box-edc17-7
autel-im608-g-box-edc17-8
autel-im608-g-box-edc17-9
(Autel IM608 will read EDC17C41, EDC17C56, EDC17CP09, EDC17CP45, EDC17CP49, MEVD17.2, MEVD17.2.4, MEVD17.2.6, MEVD 17.2.6, MEVD 17.2.8, MEVD17.2.9 etc Bosch ECUs)
System will show you operation steps.
autel-im608-g-box-edc17-10
Check wiring diagram and make good connection
autel-im608-g-box-edc17-11
autel-im608-g-box-edc17-12
Connect the boot punctuation of the chip part and the DB15 harness boot line in the wiring diagram
Connect the engine ECU interface to the DB15 harness according to the engine ECU interface punctuation in the wiring diagram
Connect the DB15 harness to the G-BOX, then connect the P terminal of the G-Box to the J2534 ecu adapter. Connect the 12 DC terminal of the G-Box to the 12V adapter
autel-im608-g-box-edc17-13
autel-im608-g-box-edc17-14
autel-im608-g-box-edc17-15
Then select Read ISN
autel-im608-g-box-edc17-16
Reading memory data in process
autel-im608-g-box-edc17-17
Save data
autel-im608-g-box-edc17-18
Extract engine ISN code succeed.
autel-im608-g-box-edc17-19
After completing the function, restore the engine ECU Scanner to its original state.
Done.

2019年12月4日星期三

How to perform the DOIP setting of the MB SD C4 PLUS

This post will show you how to perform the DOIP settings of MB SD C4 Plus Diagnostic tool.
Here are the steps:
1. Open Network and Sharing Center, click local connections
how-to-perform-the-doip-setting-of -mb-sd-c4-plus-01
2. Choose ” Properties”
how-to-perform-the-doip-setting-of -mb-sd-c4-plus-02
3. Select “Internet Protocol Version 4(TCP/IPv4) Properties”
how-to-perform-the-doip-setting-of -mb-sd-c4-plus-03
4. Set the diagnostic IP address
how-to-perform-the-doip-setting-of -mb-sd-c4-plus-04
5. Click “Advanced” to continue
how-to-perform-the-doip-setting-of -mb-sd-c4-plus-05
6. Click “Add” to set the IP address for DOIP.
how-to-perform-the-doip-setting-of -mb-sd-c4-plus-06
7. Set the IP to 169.254.0.*
how-to-perform-the-doip-setting-of -mb-sd-c4-plus-07
8. Click “Add” and click “OK” to complete the setting.

2019年11月21日星期四

OBD Read BMW B58 ISN on bench using CGDI BMW

Confirmed that CGDI Prog BMW can read BMW B58 ISN via OBD on Bench, B58 DME is usually used on 5 series and 7 series (G chassis) and more used on 3 series (F chassis). This post is available with the whole procedure.
This is all the equipments including CGDI BMW main unit, platform, B58 DME, OBD cable.
cgdi-bmw-obd-read-bmw-b58-isn-1
Please be informed, what to need are:
1.CGDI BMW with OBD cable.
2.B48 B58 Read ISN authorization
cgdi-bmw-obd-read-bmw-b58-isn-2
cgdi-bmw-obd-read-bmw-b58-isn-3
Method:
On the car via OBD (has original key)
On the Bench (All keys lost)
Procedure:
Enter CGDI BMW software.
Select ” B48 B58 Read ISN”.
cgdi-bmw-obd-read-bmw-b58-isn-4
Click on “Wiring diagram” firstly, CGDI BMW is connected to OBD cable and to the platform.
cgdi-bmw-obd-read-bmw-b58-isn-5
Click on “Identify”, okay, succeed. This is all the engine identification numbers.
cgdi-bmw-obd-read-bmw-b58-isn-6
Click on “Read ISN”.
For the first time to read B58 ISN, it will take 5 – 10 minutes.
If the platform is already read for many times, it only needs 1-3 minutes.
Read ISN 100% successfully, this is 32bit ISN.
cgdi-bmw-obd-read-bmw-b58-isn-7


2019年11月5日星期二

Vident iLink400 GM scanner VS GM Tech 2 Scan Tool

Vident iLink400 GM scanner is one plug-and-play OBD2 scanner, cheap 
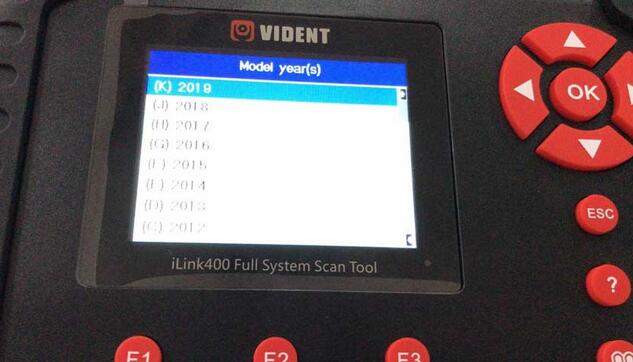
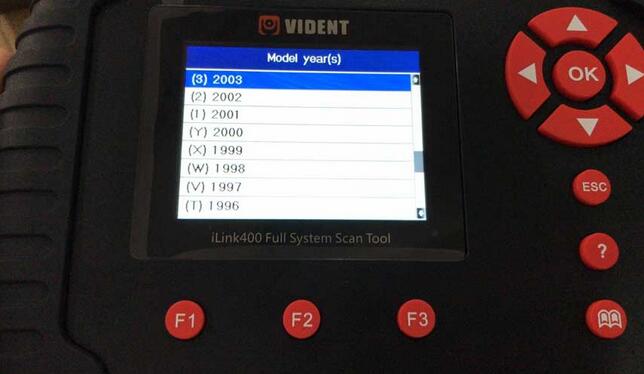
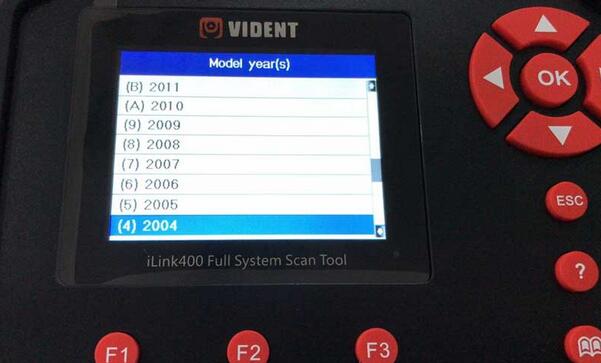
and tested working to diagnose GM cars from 1996 to 2019 year. GM Tech2 is one well-known professional user’s toy, it has capabilities of diagnosis , SPS programming and key programming etc.
Part 1: Vident iLink400 GM scanner car list, OBD2 diagnostic function list, special functions, language, update, how to use etc
 
1.Free download:
Vident iLink400 GM scanner function list (including special functions, GDS software functions)
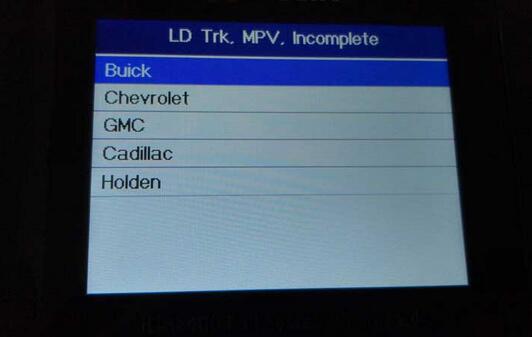
GM coverage: Buick, Cadillac, Chevrolet, Daewoo, Holden, Pontiac, Saturn, Oldsmobile, GMC Truck, Isuzu etc.
From 1996 – 2019 year.
vident-ilink400-gm-carlist-and-function-1 vident-ilink400-gm-carlist-and-function-2 vident-ilink400-gm-carlist-and-function-3 vident-ilink400-gm-carlist-and-function-4
Vident iLink400 GM scanner obd2 diagnostic functions:
ECU Info
Read Codes
Erase Codes
Live Data
Active Test
Read article:  Vident iLink400 GM scanner reviews
Vident iLink400 GM scanner special function:
Oil Service
Electronic Parking Brake (EPB)
Calibration of Steering Angle Sensor G85
Adapt Battery After Replacing
Throttle Body Alignment (TBA)
Special function of Diesel Engine
Read Anti-theft Code
Reset Airbag
Program Key Fob
Invalidate All Fobs
Key Fob Button Test
etc
Vident iLink400 GM scanner language:
English, French, German, Russian, Spanish Portuguese, Dutch, Swedish and more.
Vident iLink400 GM scanner update:
TF memory card for data backup and software update.
3 years free software update online www.videnttech.com
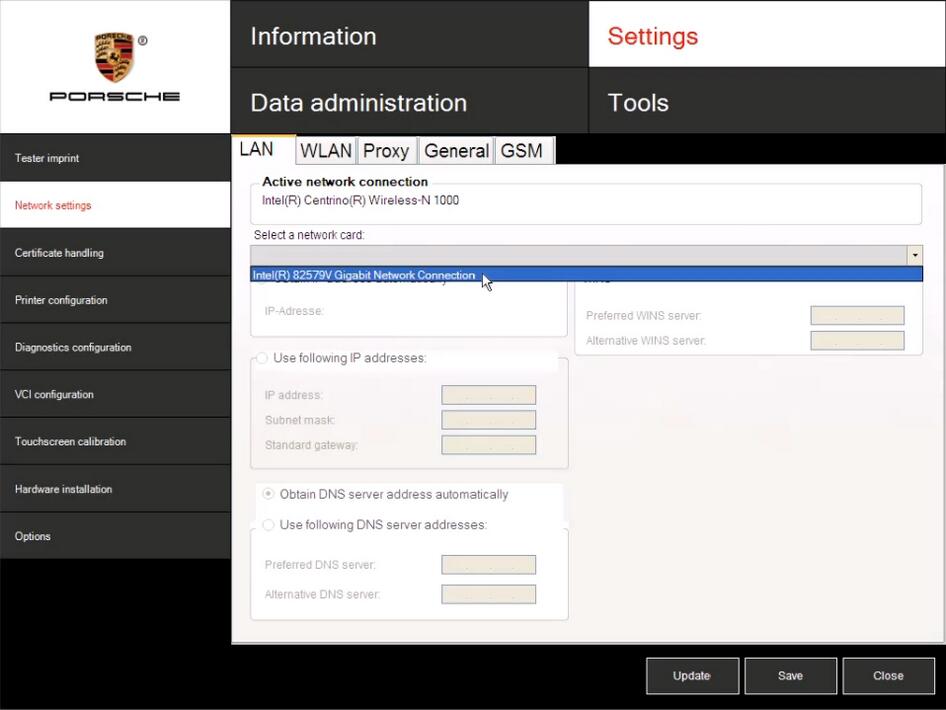
How to use Vident iLink400 GM scanner?
Vident iLink400 has no car diagnostic software as default, when you receive the device, you need to register one vident ID on www.videnttech.com, register the machine, download GM software to test.
If you bought from obd2tool.com, just select version “GM”. If you want to add more car software, login your account ID on the official site, then “Shopping Cart”, then “Add to cart”.
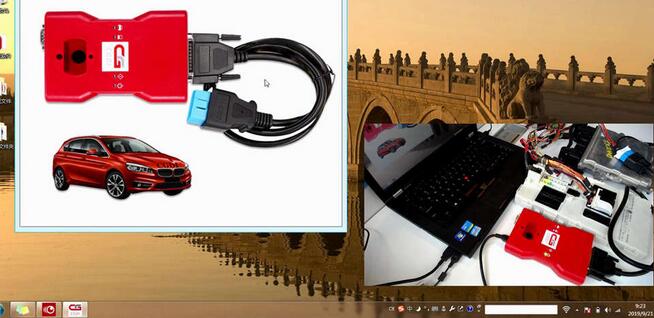
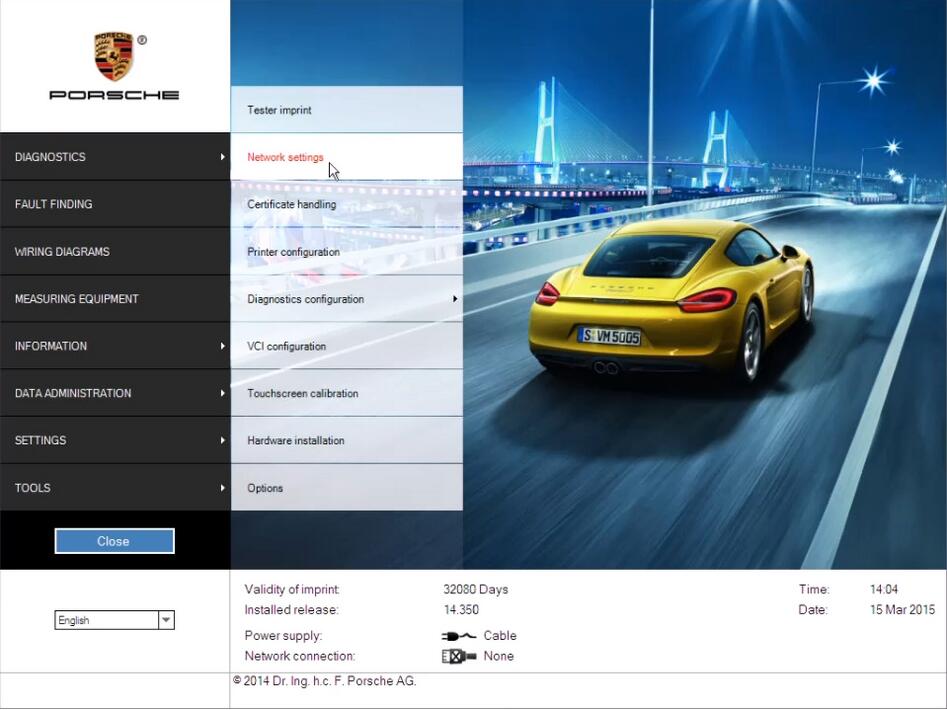
Part 2: GM Tech 2 Scan Tool car list, diagnostic and programming functions, language, update, how to use etc.
2.GM Tech 2 Scan Tool car list
GM, SAAB, Opel, Suzuki, Isuzu, Holden
Coverage of Diagnosis: From 1992 to 2013, With Help of Tis2000 Software, It Can Do Programming for Cars Before Year 2007 (GM MDI2 and vxdiag nano can work with GM up to 2018 / 2019 year)
GM
GM-English                32.008 1991-2013
GM-German               32.008 1991-2013
GM-Spanish               32.008  1991-2013
GM-Japanese            32.008   1991-2013
GM-French                  32.008   1991-2013
GM-Thai                       32.008   1991-2013
GM-Portuguese         32.008   1991-2013
GM-Korean                 32.008    1991-2013
SAAB
SAAB-English     148.000
OPEL
OPEL-English     V180      1997-2014
OPEL-Italian       133.001 1997-2012
OPEL-German   85.001 1997-2008
OPEL-Spanish   91.001 1997-2009
Holden
HOLDEN-English  V149 1999-2013
SUZUKI
SUZUKI-English   01.210.020
ISUZU
ISUZU-English   CAN-BUS 107.021  2010-  (CAN-BUS support car models after 2010)
ISUZU-English   K-Line  11.62   1996-2013 (K-line support car models from 1996 to 2011)
(If you want ISUZU software, please tell us you want CAN-BUS or K-line)
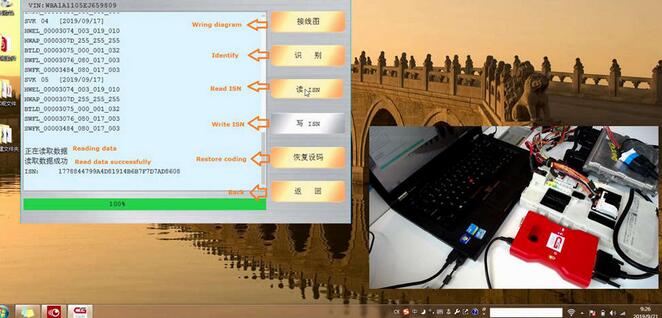
3.GM Tech 2 Scan Tool functions:
1) OBD2 diagnostic functions.
Read this article: GM Tech 2 feedback
2) SPS programming
This article is available with the procedure, you can follow:
How to use Tech2 for GM SPS programming
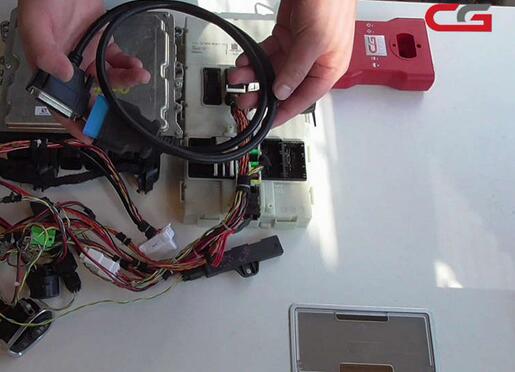
3) Key programming
Read article: How to program key fobs for 06 Chevrolet using GM TECH2 with 32MB card and CANdi module:
Step by step procedure with lots images.
4) Bleeding ABS with Tech 2
I have a tech 2 clone but I have a ’96 and it only has the 3 sensor 4wal. On this there is no countdown or cycling of the ignition, as long as it is on with engine off, after the warnings it establishes communication and then says depress the pedal and it cycles the ABS about 4 times.
BTW this is a good resource for Tech2 paths. It’s all paths though even more than available for your truck but you could probably reduce this down if needed.
https://gsi.ext.gm.com/userguides/GM_Tech2_Paths.pdf
Also, if I can get to that screen just scrolling through function sitting at my desk then that means no communication is occurring to this point. So i would go and use the function to pull the VIN or something just to make sure you do have communication from the unit and through the DLC connector to the truck.
ABS Bleed with GM Tech2 Scan tool
Conclusion:
Vident iLink400 is more suitable for the DIYers , since it is easy to use, cheap and allow users to add one more car diagnostic software as needed.
GM Tech 2 is more suitable for the professional users, which has key programming and SPS programming functions.

2019年10月22日星期二

How to Set LAN Network for Porsche PIWIS II Software

Here is a guide on how to set LAN & WLAN network for Porsche Piwis2 diagnostic software.
Preparations:
Porsche PIWIS 2 V18.15 V17.500 Free Download
How to Install/Restore Porsche PIWIS 18.100 Universal Image
Part 1: Porche PIWIS II LAN Network Setting
Part 2: Porche PIWIS II WLAN Network Setting
Part 1: Porche PIWIS II LAN Network Setting
1.Click [SETTINGS]->[Network settings]
How-to-Set-LAN-Network-for-Porsche-PIWIS-II-Software-1
How-to-Set-LAN-Network-for-Porsche-PIWIS-II-Software-2
2.Click [LAN],then Select a network card
How-to-Set-LAN-Network-for-Porsche-PIWIS-II-Software-3
How-to-Set-LAN-Network-for-Porsche-PIWIS-II-Software-4
3.Obtain ip address automatically:select [Obtain IP address automatically] and [Obtain DNS server address automatically],then click [Save]
How-to-Set-LAN-Network-for-Porsche-PIWIS-II-Software-5
How-to-Set-LAN-Network-for-Porsche-PIWIS-II-Software-6
4.Manually settings IP address : select [Use following IP addresses] and [Use following DNS server addresses],then input IP address,subnet mask,standard gateway,Preferred DNS Server,then click [Save]
Part 2: Porche PIWIS II WLAN Network Setting
1.Click [SETTINGS]->[Network settings]


2.Click [WLAN],then Select a network card

3.Click [Search],then click select Network name,and input Network Key
4.Obtain ip address automatically:select [Obtain IP address automatically] and [Obtain DNS server address automatically],then click [Save]

5.Manually settings IP address : select [Use following IP addresses] and [Use following DNS server addresses],then input IP address 、subnet mask 、standard gateway 、Preferred DNS Server , then click [Save]

2019年9月28日星期六

How to perform Volvo Vida DICE Full Test by Mean of DICE Test Unit

This article show the detail information of how to perform Volvo Vida DICE full test by mean of DICE test unit.

DICE Full Test by Mean of DICE Test Unit:
1.Find the Volvo Vida DiCE Test Unit
2.Power up the DiCE by connecting 12 V DC, part number 9513004, to the DiCE Test Unit. NOTE! The power LED should now be lit.
3.Connect the DiCE to the DiCE Test Unit. NOTE! The vehicle interface status LED is now lit (firm red light).
4.Start VIDA All-in-one. Select the START tab.
5.Click on PERFORM COMPUTER SETTINGS and then the COMMUNICATION TOOL tab.
6.Click on the dots beside the DiCE option in the drop-down list for the COMMUNICATION TOOL.
7.In the DiCE unit drop-down list, select the appropriate DiCE and click the Test communication tool.
7
8.Click on RUN
8
9.Set the DiCE Test Unit Switch to position 1. Click on OK.
10.Set the DiCE Unit Switch to position 2. Click on OK. Click on CLOSE.
11.CONGRATULATIONS! You have successfully managed to perform a DiCE Full Test by means of DiCE Test Unit.
12.If this will not work, the following will be shown:
12
Please check thouroughly the switch positions and try again. If it still does not work, the DiCE Unit is out of order and has to be replaced.
Repeat this section for both DiCE connected via USB and Bluetooth.