Possible to use Digiprog 3 v4.94 for Porsche Cayman odometer correction?
Yes. Here is the Cayman with chip types confirmed to work:
Porsche Cayman 93C86
Porsche Cayman MCU 35P08
Porsche Cayman 2010 95640
Porsche Cayenne Diag
In detail…
Porsche Cayman 93C86
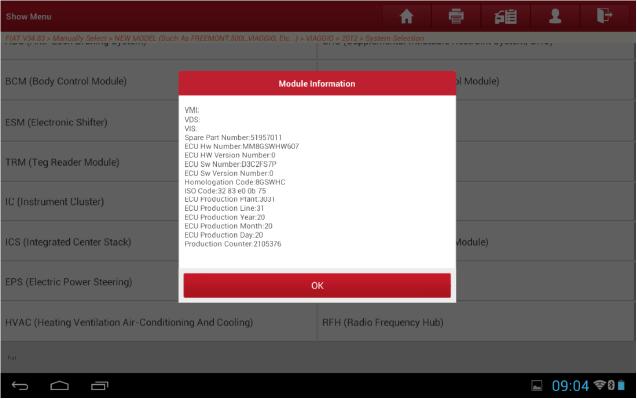
Note Tacho Meter Value
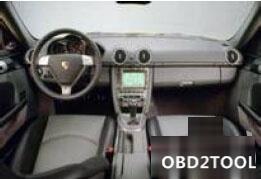
Dismantle Tacho


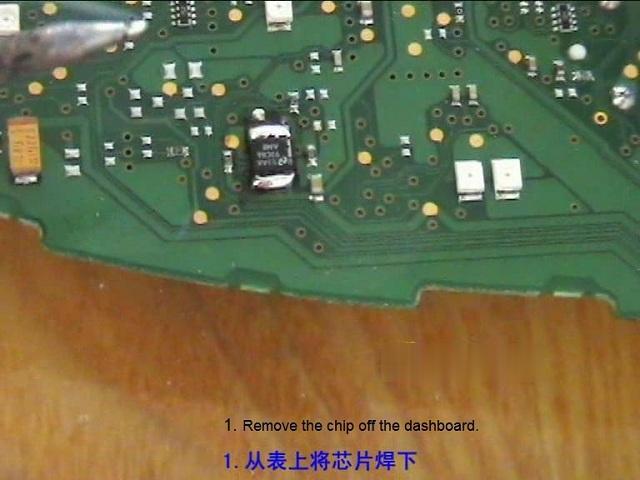
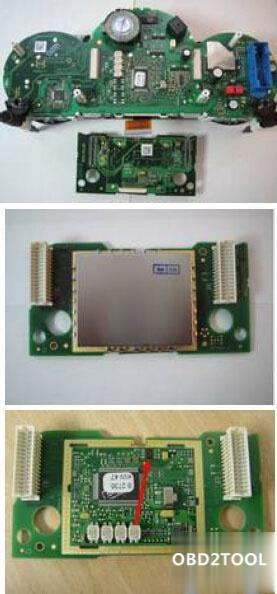
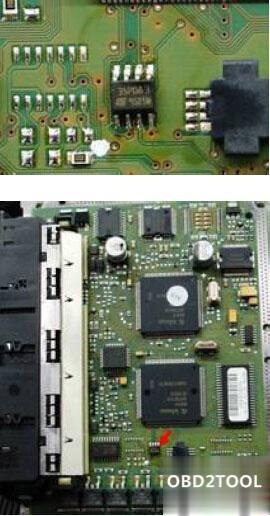
Identify Chip 93C86
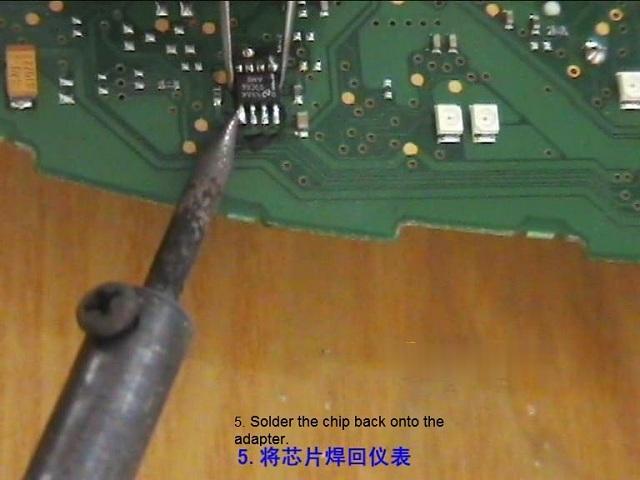
Desolder Chip 93C86
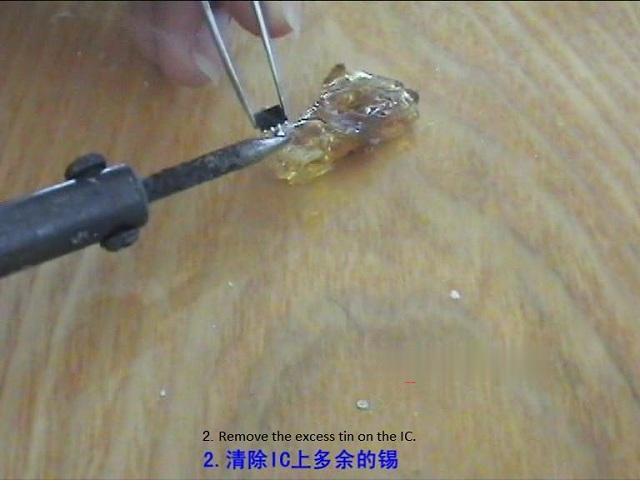
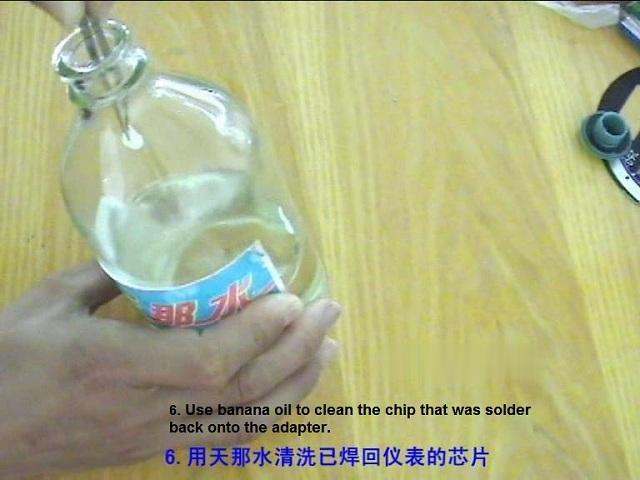
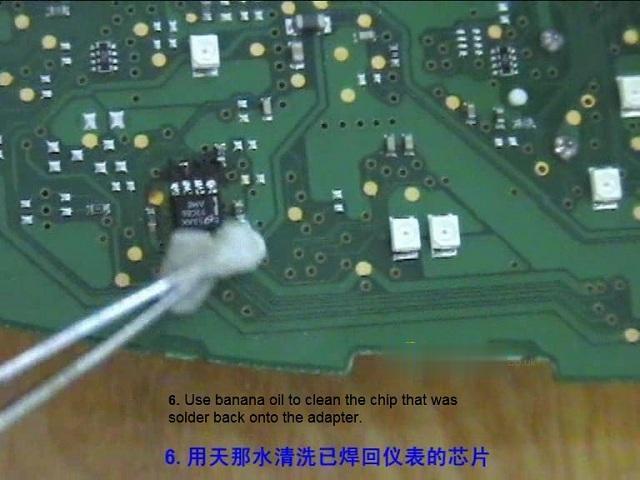
Clean Chip 93C86
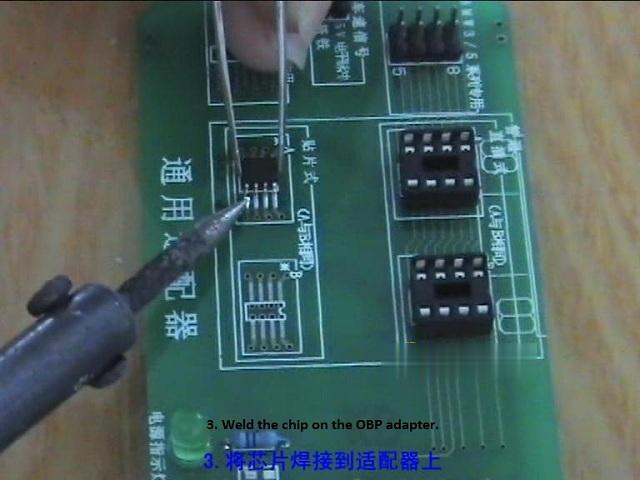
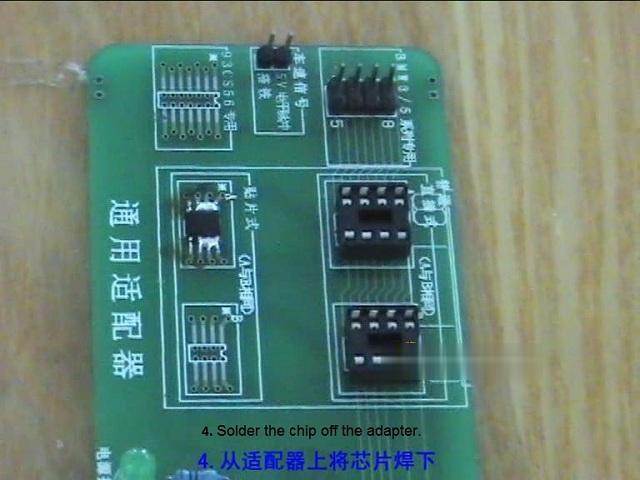
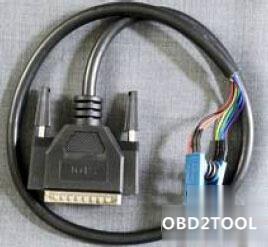
Set Plug ST01 on Chip

Red Cable on PIN 1
Font readable / PIN 1 bottom left
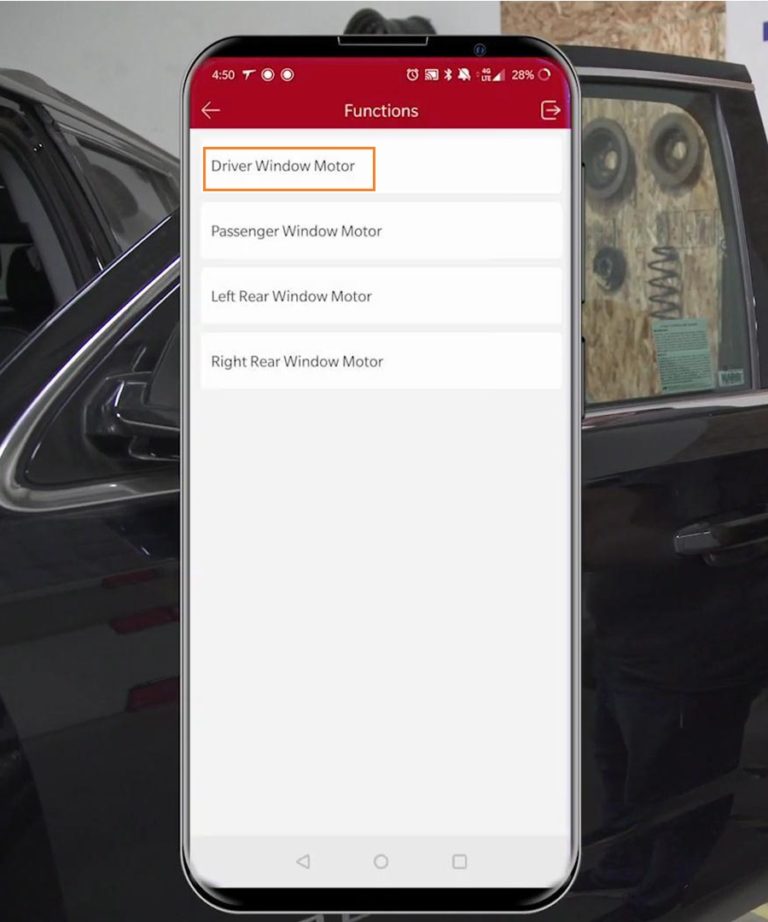
Choose programm
PKW/LKW—Porsche-Cayman-93C86
Data Back up / Data restore
Data Back up EEPROM
Chip type
Read Data
Write Data
or
Data restore EEPROM
Load Data
Connect replace tacho
Choose Vehicle progra
Enter KM value and confirm Entry
Programming operation completed
Porsche Cayman MCU 35P08
Note Tacho Meter Value
Dismantle Tacho


Choose programm
PKW/LKW—Porsche-Cayman-93C86
Data Back up / Data restore
Data Back up EEPROM
Chip type
Read Data
Write Data
or
Data restore EEPROM
Load Data
Connect replace tacho
Choose Vehicle program
Enter KM value and confirm Entry
Programming operation completed
Porsche Cayman 2010 95640
Note Tacho Meter Value
Dismantle Tacho


Identify Chip 95640
Desolder Chip 95640
Clean Chip 95640
Set Plug ST01 on Chip

Red Cable on PIN 1
Font readable / PIN 1 bottom left
Choose programm
PKW/LKW—Porsche-Cayenne-2010-95640
Data Back up / Data restore
Data Back up EEPROM
Chip type
Read Data
Write Data
or
Data restore EEPROM
Load Data
Connect replace tacho
Choose Vehicle program
Enter KM value and confirm Entry
Programming operation completed
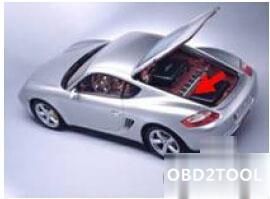
Porsche Cayenne Diag
Note Tacho meter value
Diagnosis connection is located Engine Compartment


Connect Diagnosis Port with Plug 16
Ignition on
Connect DigiProg about Plug 16
The DigiProg needs no separate electricity supply, it is
supplied about the diagnosis port
choose program
PKW/LKW– Porsche-Cyenne-Diag
Enter KM value and confirm Entry
Programming operation completed
Digiprog 3 Porsche car list:

Porsche 911 (996)
Porsche 911 (996)Turbo
Porsche 928
Porsche 987
Porsche 996 09/01/2000 Diagnostic
Porsche 996 2000/2002 BCU Programming Via Box
Porsche 996 Turbo Ready Soon
Porsche 996 to 08/01 Diagnosis
Porsche 996 up 09/01 93C86 Diagnostic
Porsche 997
Porsche 997 MCU Program via chip
Porsche 997 Tacho & MCUs
Porsche Boxster (9686/987)
Porsche Boxster Diagnosis
Porsche Cayenne 2002-2010
Porsche Cayenne 2010 – to PRESENT YEAR
Porsche Cayenne Diagnostic
Porsche Cayman (987)
Porsche Cheyenne
Porsche Panamera]